


Tutorial · Architect 3D 26 for Windows
How to create the topographical plan of a plot of land
Updated · About 6 minutes
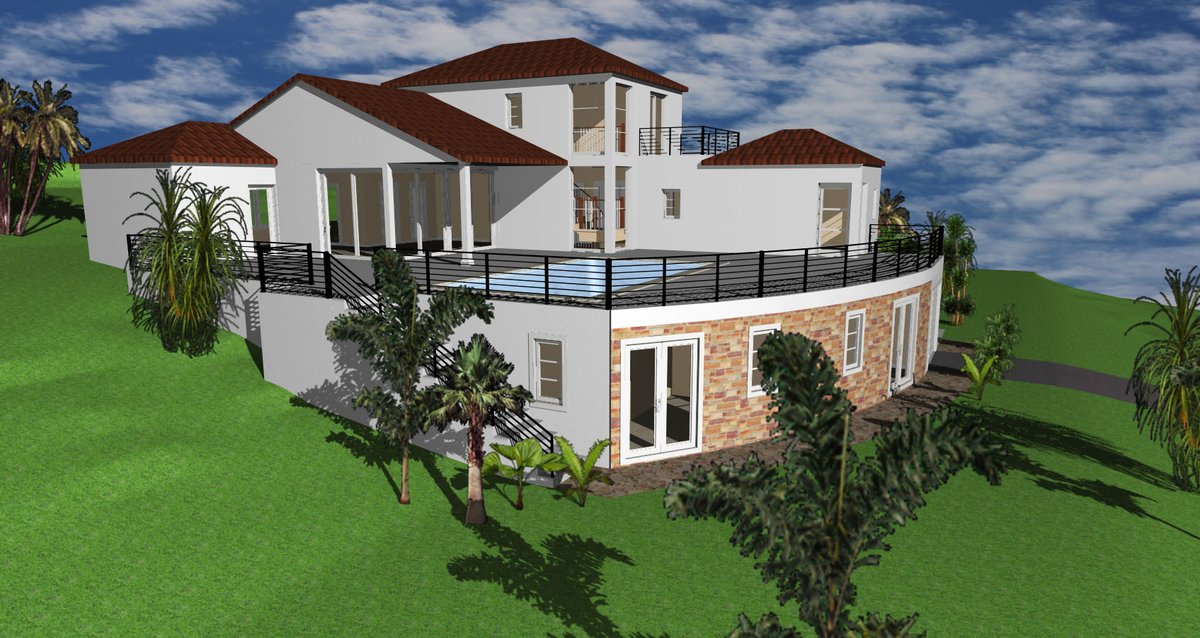
Written for Architect 3D 26 for Windows. The Mac edition has similar tools, though some menu names differ.
Whether you are building a house or designing a garden, you have to work with the levels of the plot: its topography. In Architect 3D you draw contour lines, each at its own elevation, and add sloping sections. Choose a contour shape, set its elevation, and the 3D ground follows.
Where the tools are: in Architect 3D 26 the topography tools are on the Terrain tab. In earlier versions they are in the Topography toolset on the Landscape tab.
Step 1: Draw the topography lines
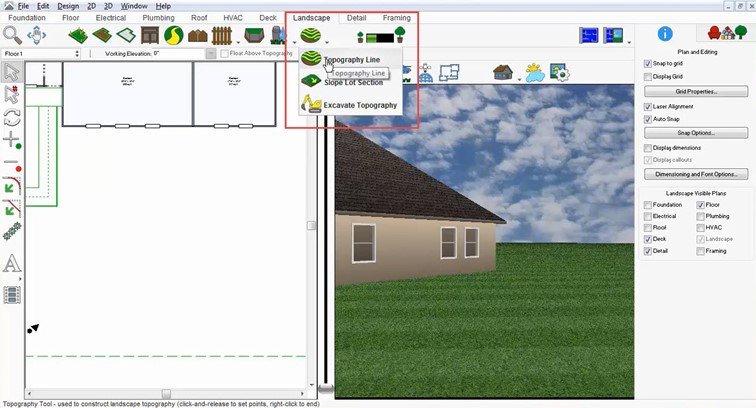
- Click the Topography Line tool.
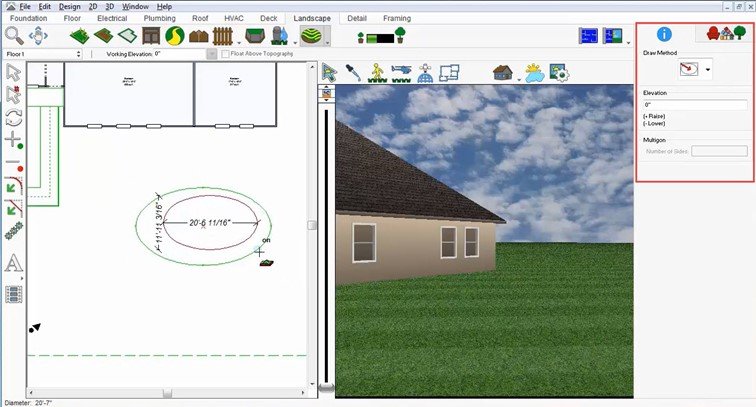
- On the Properties tab, choose a drawing method, for example Oval from Center.
- Click and drag to draw the shape. The line follows the pointer.
- Release the mouse button to place it.
Step 2: Set the elevation of each line
Open the 3D View window so you can watch the ground change as you work.
- Select a topography line and type its elevation on the Properties tab. The outer zone is usually left at 0, where the slope starts.
- Press Enter to confirm.
- Repeat for each line.
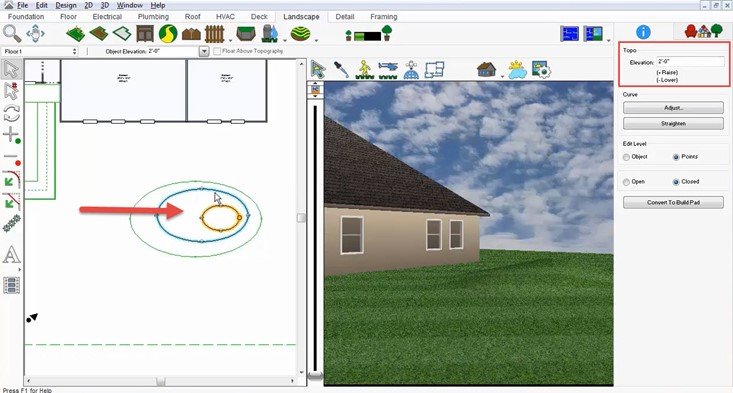
Once the values are in, the 3D view shows a sloping bank on your plot. Elevations are not cumulative: each one is measured from the working elevation of the drawing.
Step 3: Finish the ground
Add a ground fill region
- On the Landscape tab, click Ground Fill Region.
- Click and drag in the design window to draw the region, here around the bank.
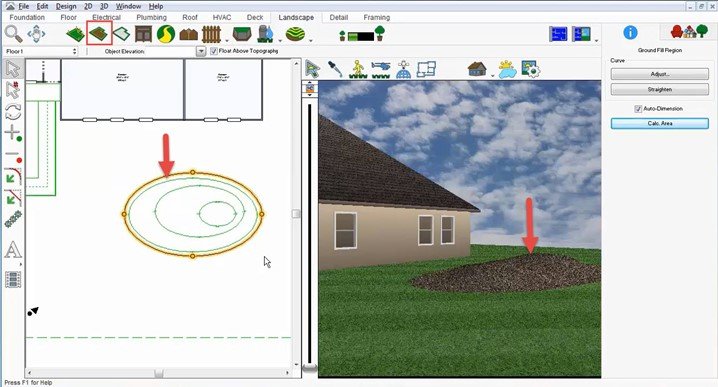
A new ground fill region uses mulch by default. You can apply any other material in the 3D view.
Add an edging border
- Right-click the edge of the region and choose Create Edging Border.
- In the 3D View window, click Select Objects in 3D and click the edging to show its properties.
- Choose a different material if you like.
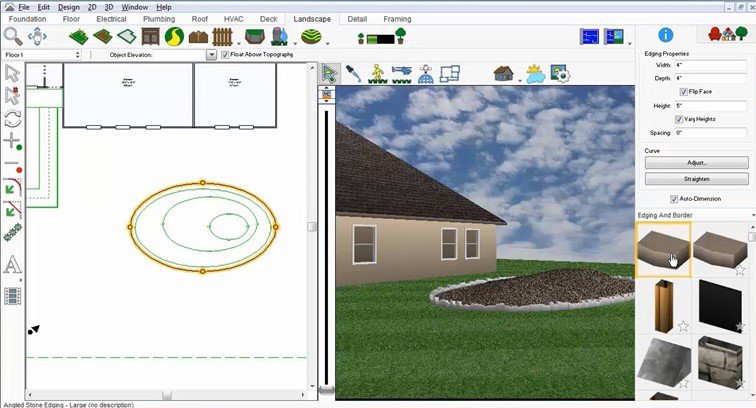
Add a slope
- Click the Slope Lot Section tool.
- On the Properties tab, set the Start Elevation to 0.
- Click where the slope starts and drag to where it ends. The descent angle is shown on the Properties tab, where you can also type it.
You can change any of these elements, and the materials on them, at any time. To sculpt the ground freehand, the Spray, Smooth and Erase Topography tools let you raise and lower the terrain directly in the 3D view (Ultimate, Platinum, Gold and Landscape Design).
Editions: the topography tools are in every Windows edition except Express.