


Tutorial · Architect 3D 26 for Windows
Use the wall tools to draw and configure the plan of your home
Updated · About 5 minutes
Written for Architect 3D 26 for Windows. The Mac edition has similar tools, though some menu names differ.
With the wall tools in Architect 3D you can build a floor plan one wall at a time or one room at a time, and then refine it: divide a room in two, or open two rooms into a single space. Architect 3D joins walls at the corners for you.
Step 1: Draw the plan wall by wall
When QuickStart opens, click Continue to go to the design window. Then use whichever method suits you:
Drag a wall to length
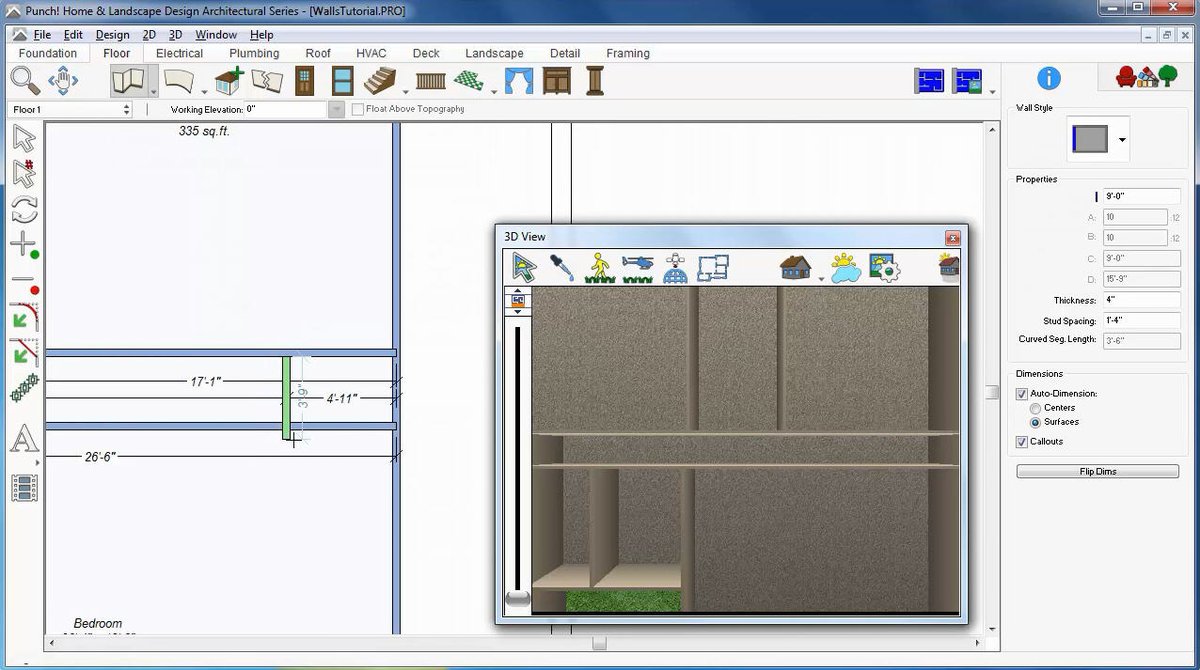
- On the Floor tab, click the Wall tool.
- Click in the design window, hold down the mouse button and drag. The wall follows the pointer and its length is shown as you go.
- Release the mouse button when the wall is the length you want.
Type an exact length
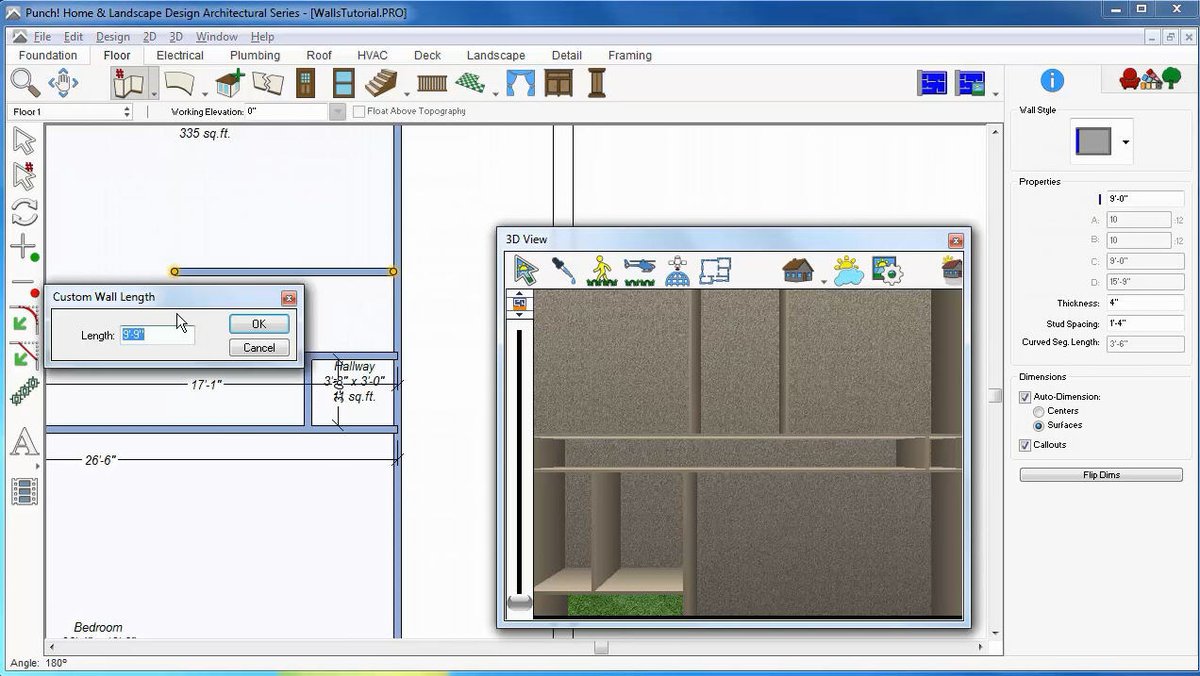
- On the Floor tab, click the Wall (Custom Wall Length) tool.
- Click the starting point of the wall, hold down the mouse button and drag to set its direction.
- Release the mouse button and type the length in the dialog box that opens.
Step 2: Or lay it out room by room
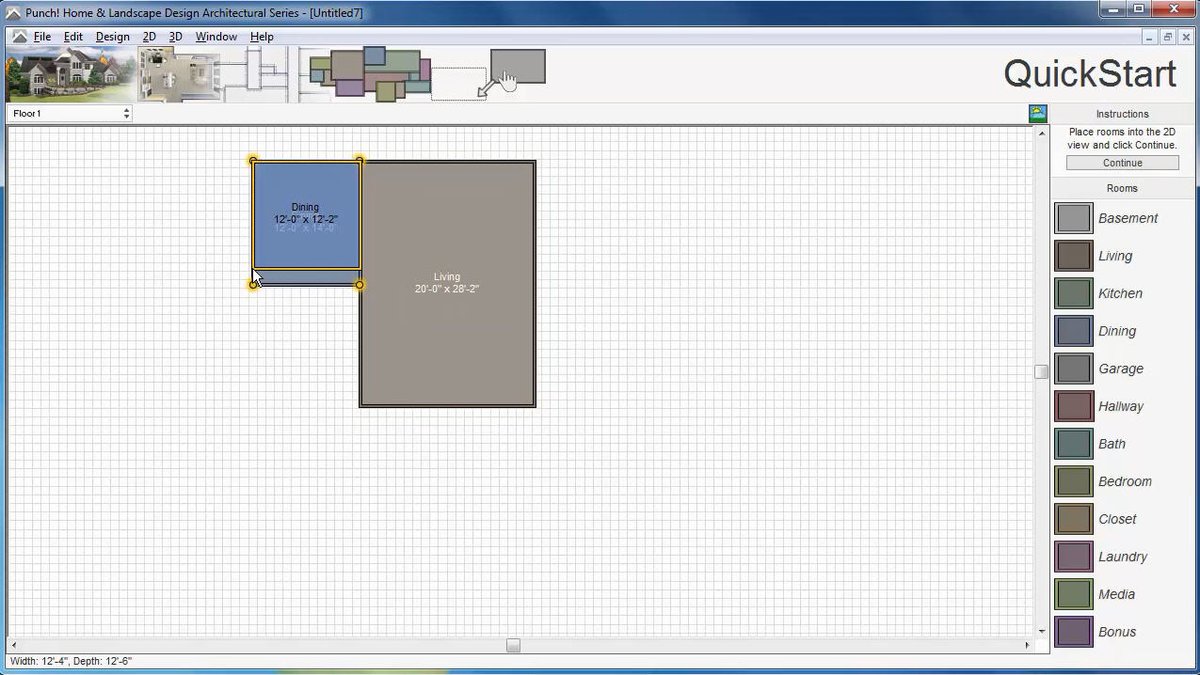
- In QuickStart, drag the room types listed on the right into the design window.
- Use the corners of each room as handles to resize it.
- Click Continue to see the walls of your layout on the plan.
Step 3: Divide a room
For example, to split a bathroom so you can add a separate toilet:
- On the Floor tab, click the Wall tool.
- Click on an existing wall to start the new one, hold down the mouse button, drag to the length you need and release.
- Each part keeps the name of the original room. Click a room label and type a new name.
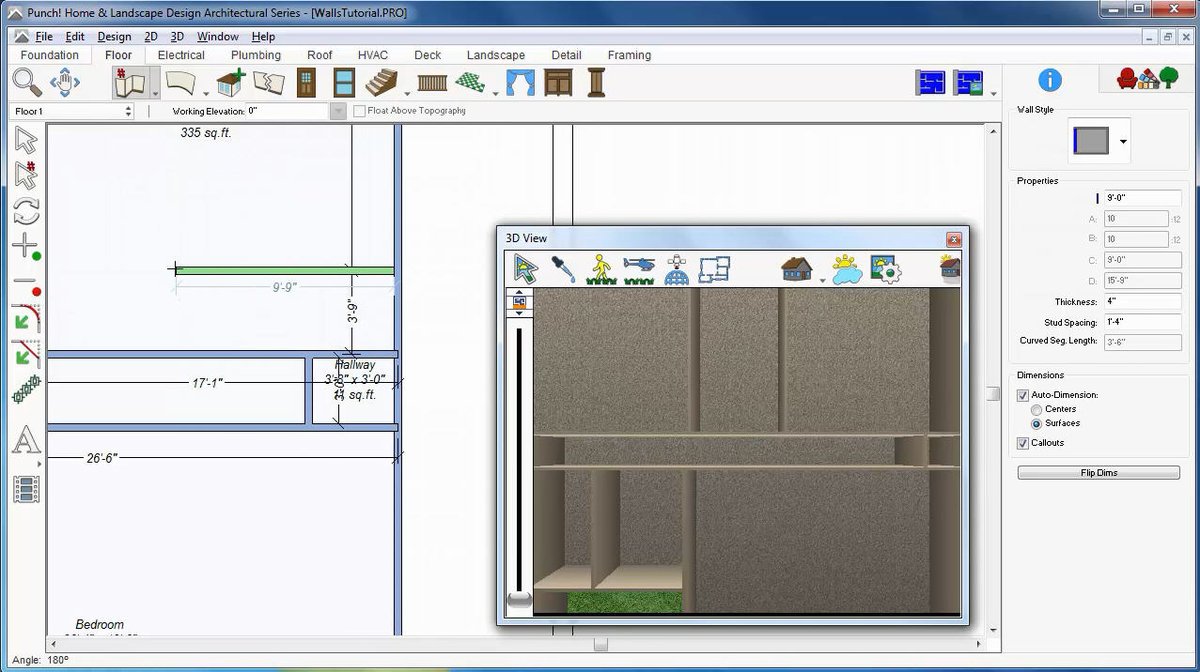
Tip: while the new wall is selected you can nudge it with the arrow keys.
Step 4: Open rooms into one space
For example, to open a kitchen onto the dining room:
- Zoom in with the mouse wheel so you can see both rooms.
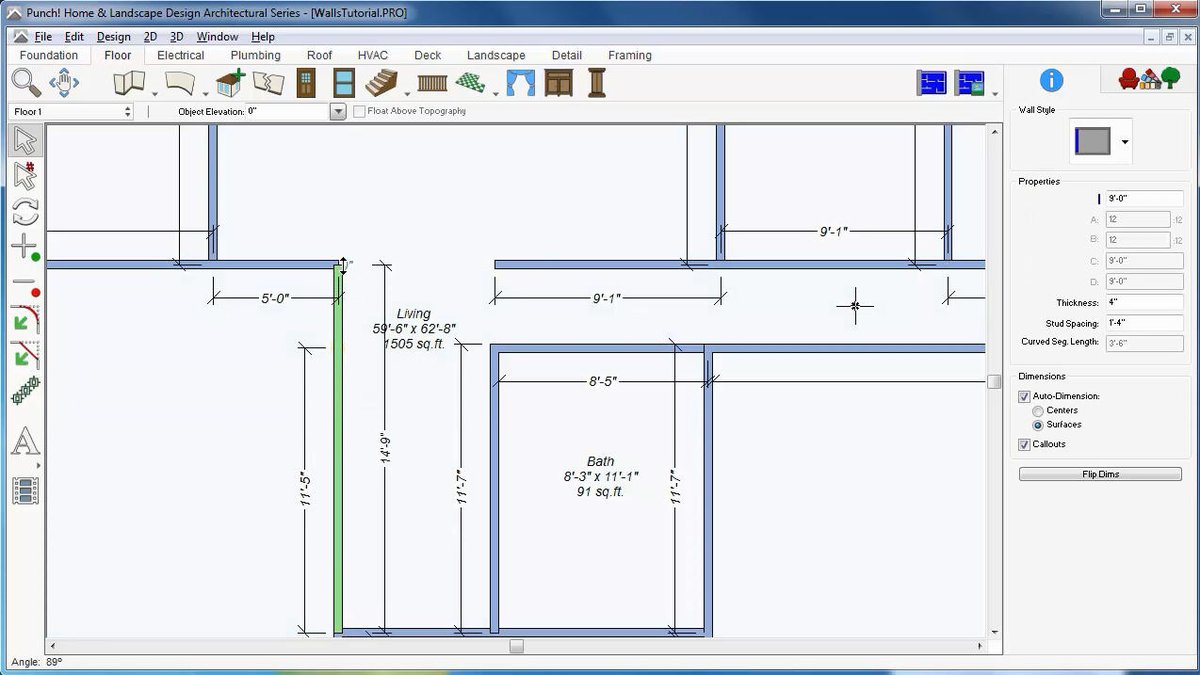
- Click the Select tool, click the wall sections between the rooms and press Delete.
- If needed, adjust the alignment or length of the remaining walls with the Wall tool.
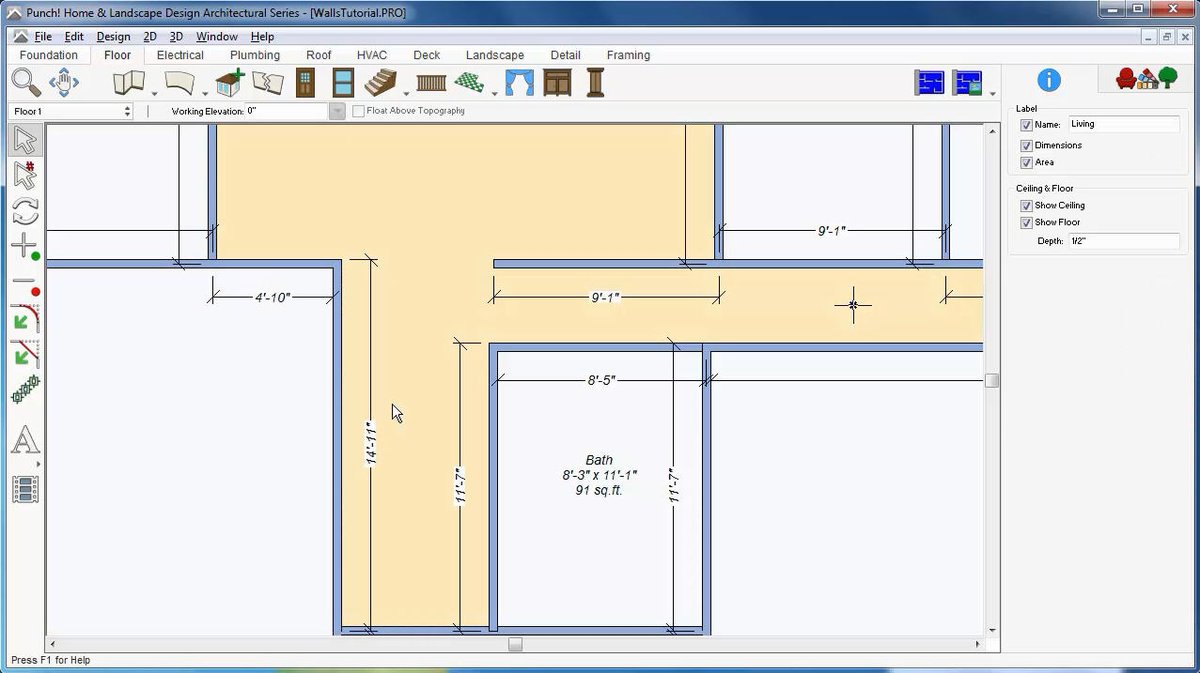
- Click inside the opened area: the rooms now form a single space.
Save your project to keep the new layout. Next, add doors and windows.